Obtaining an IP Address is a necessary part of the process when connecting to a Wi-Fi network. If you have come across this article, it is therefore likely that you want to Fix “Failed to Obtain IP Address” issue on your Android device.
Luckily for you, I have collected a few solutions for this frustrating issues that you are having. Within the article, we will explore why your device is having trouble with your IP Address, I will teach you what an IP address is, and then we will go through the exact steps needed to fix your IP address problem on your Android device. If you are short on time go to “How I can fix IP Address issue?” section directly.

Why your device needs an IP Address?
An Internet Protocol address, or an IP address, is the number label assigned to each computing device in a computer network. Your IP address serves two functions: to host your internet identification information and to locate your device in relation to the computer network.
Your IP address is a unique number and which look like one below.

This is similar to your Home address if a friend sending a package to your Home he needs your exact address, therefore, he can email you the package. IP Address is no different than your physical address, you get this number from your Internet service provider (Comcast Xfinity, Verizon Fios or some other), which uniquely identifies your home network.

IP Address is critical in developing the connection to your WiFi network and we can now see why understanding what your IP address really is will help us fix obtain IP Address problem on your Samsung Galaxy, HTC or some other Android phones. In the next section, I will help guide you through exactly why this problem is happening to you.
Why do I get “Failed to obtain IP Address problem”?
Before we begin looking at the solutions, I think it is best to understand why this is happening?
Failed to obtain the IP address happens with different reasons and it happens on almost all versions of Android phones on saved Wi-Fi connection or while establishing a new connection. It starts with “Connecting….”, “Obtaining IP address” or “Obtaining IP address from…” this goes on in an infinite loop and finally it says “failed to obtain IP Address”
This is happening because of either a wireless block, a glitch in the router, bad security settings, or a software conflict.
How can we fix the IP Address issue?
There are many ways to go about fixing this issue. Thankfully, I have selected the most simple and easy to follow solutions to this problem. I know that technology can give you a headache so I am here to help guide you through your technological issues.
We will work out this problem together and I promise you that you will find all of your stress taken away after your problem is fixed.
By carefully following my simple instructions below, we will identify, solve, and provide a solution for your WiFi problem.
1. Forget and Reconnect to WiFi Network:
First off, Delete or Forget the WiFi connection you have the problem with and you can try to reconnect to your WiFi network. The problem will usually go away once you reconnect to the WiFi network. By reconnecting to the WiFi network, you will restart the connection process and your device will have to fix the IP Address problem because the process is restarted.
In my research, users often make common mistakes that cause their IP addresses to fail. These mistakes can be related to forgetting their WiFi password and accidentally inputting the wrong IP information into their device.
2. Problem with the Home Router:
If you are having this problem on your Home Router you can simply try to reboot the home router. After rebooting, the problem should be solved and you should be able to connect. If you are at home, you can also try to see if there is anything causing interference with the wireless connection. This can simply be something blocking the router from working such as a box or a piece of furniture obstructing the router.
If this is not working or you are using Public WiFi continue reading to fix this problem.
3. Problem with obtaining Static IP address:
If your Android device is running Android version 2.x to 4.0 follow my instructions below:
1. Go to Settings.
2. Select Wireless and Networks.
3. After that, you will turn on the Wi-Fi and then you will enter the Wi-Fi Settings.
4. Next, press Menu and click on Advance. You will then select the option to use Static IP.
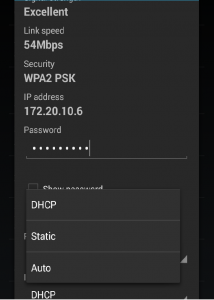
This screen should be identical to the one provided in the above screenshot. After completing these steps, you should be able to connect to your WiFi network. Your Android device should now be able to successfully identify the correct IP address and will be able to make proper contact with your WiFi network. The issue should, therefore, be solved and I can assure you that this process should solve the problem again if you find yourself in this same situation in the future.
We can go about solving this problem in the same way on newer Android devices as well. This process is slightly different for devices running Android version 4.1 and higher but we will still be able to follow the simple process of fixing your problem in the easiest way possible. Therefore, I will guide you through the steps you must take to resolve the issue on OnePlus and Motorola Droid Phones – These are the ones I have it right now with me, I will try to get screenshots for Samsung Galaxy, Samsung Note and HTC phones in future based on users request.
Fix for OnePlus Android Phones:
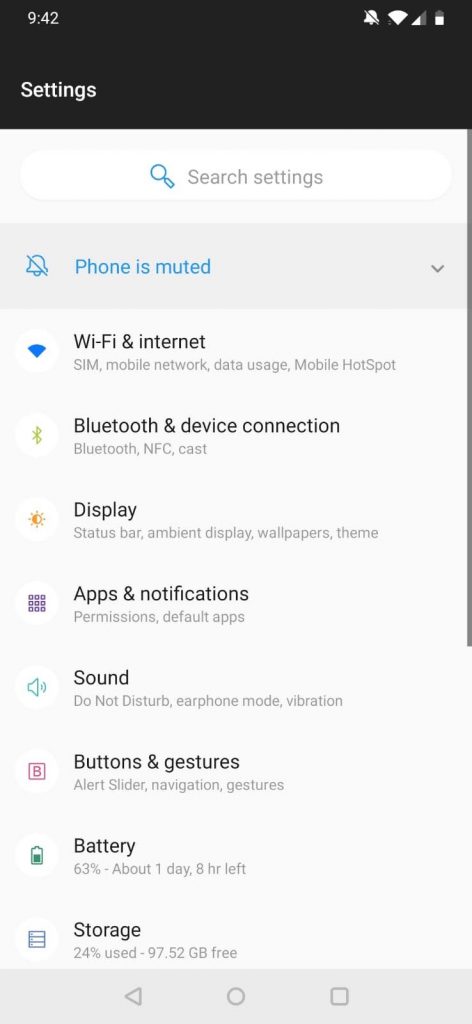
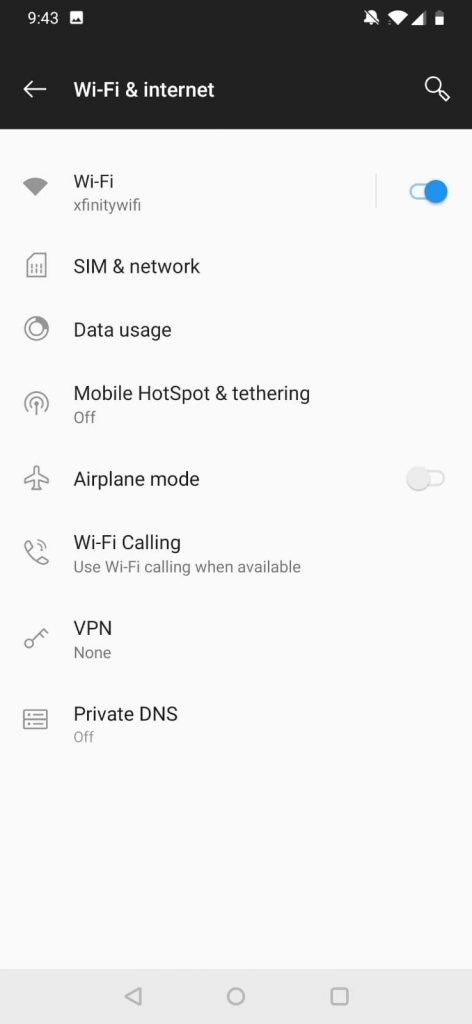
1. We will begin by going to Settings and tapping on Wi-Fi and Internet
2. Next, you will long press on the connected network and select Modify.
3. Now, Click on Pencil icon on the top to edit the settings
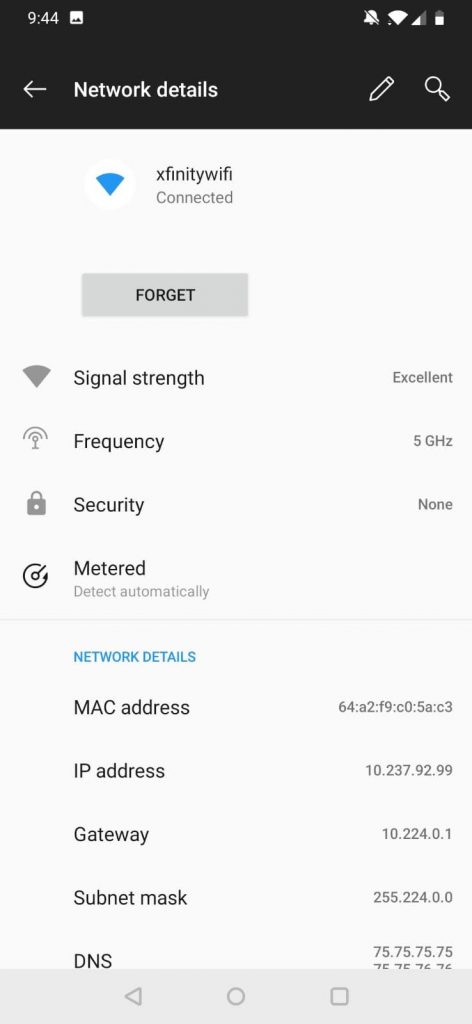
4. Now, Click on Advanced options.
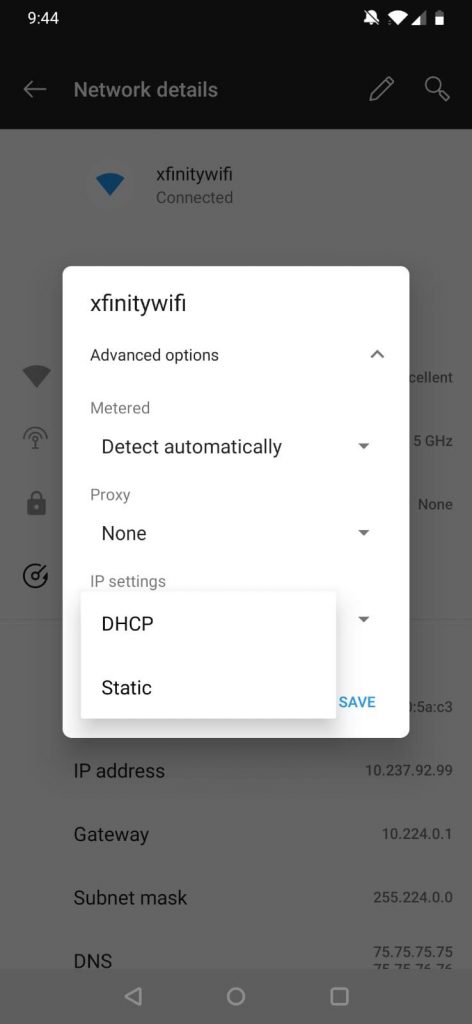
5. You will then select Static from the drop-down IP Menu. You should then input your own IP address but leave all other options the same as in the provided screenshot.
Fix for Motorola Droid (Verizon Phone):
1.Open WiFi Settings under your Settings App
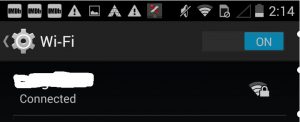
2. Press and Hold on WiFi Connected on your phone for few seconds or just click on it
3. Press and Hold on WiFi Currently active WiFi connection to bring manage WiFi Settings popup, Click advanced settings option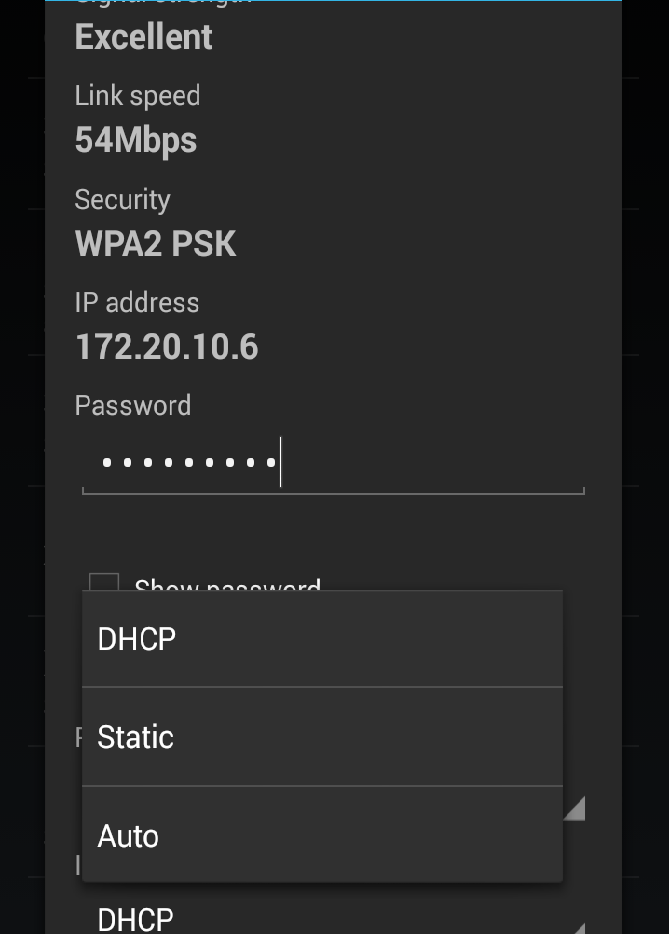
4. Click IP Settings and select Static option.
As I mentioned few lines back in this article, I don’t have screenshots for Samsung Galaxy, Samsung Note, and HTC Android phones, these settings are similar all you need is Open WiFi settings and navigate to the point where you can change the IP settings.
Reviewing Our Solution
Upon further review, we have gone through all of the ways you can go about fixing your Failure to Obtain IP Address problem on your Android Device. I first told you what an IP Address is, then we looked at why this problem was occurring, after that we explored ways we can fix the problem, and we looked at some reasons as to what could have caused the problem to happen.
Overall, we have covered a lot on WiFi connectivity issue today so I invite you to look back over what I have shown you so that you may refer back to it in the future if you find yourself facing this problem again. I would like to thank you for taking the time to fully understand your problem because I can assure you that your new knowledge will assist you in fixing this problem for yourself, your friends, and your family if they ever need help with this Failure to Obtain IP Address issue as well.
If you have any other solutions to solve this problem please share with me I will update it here for others.